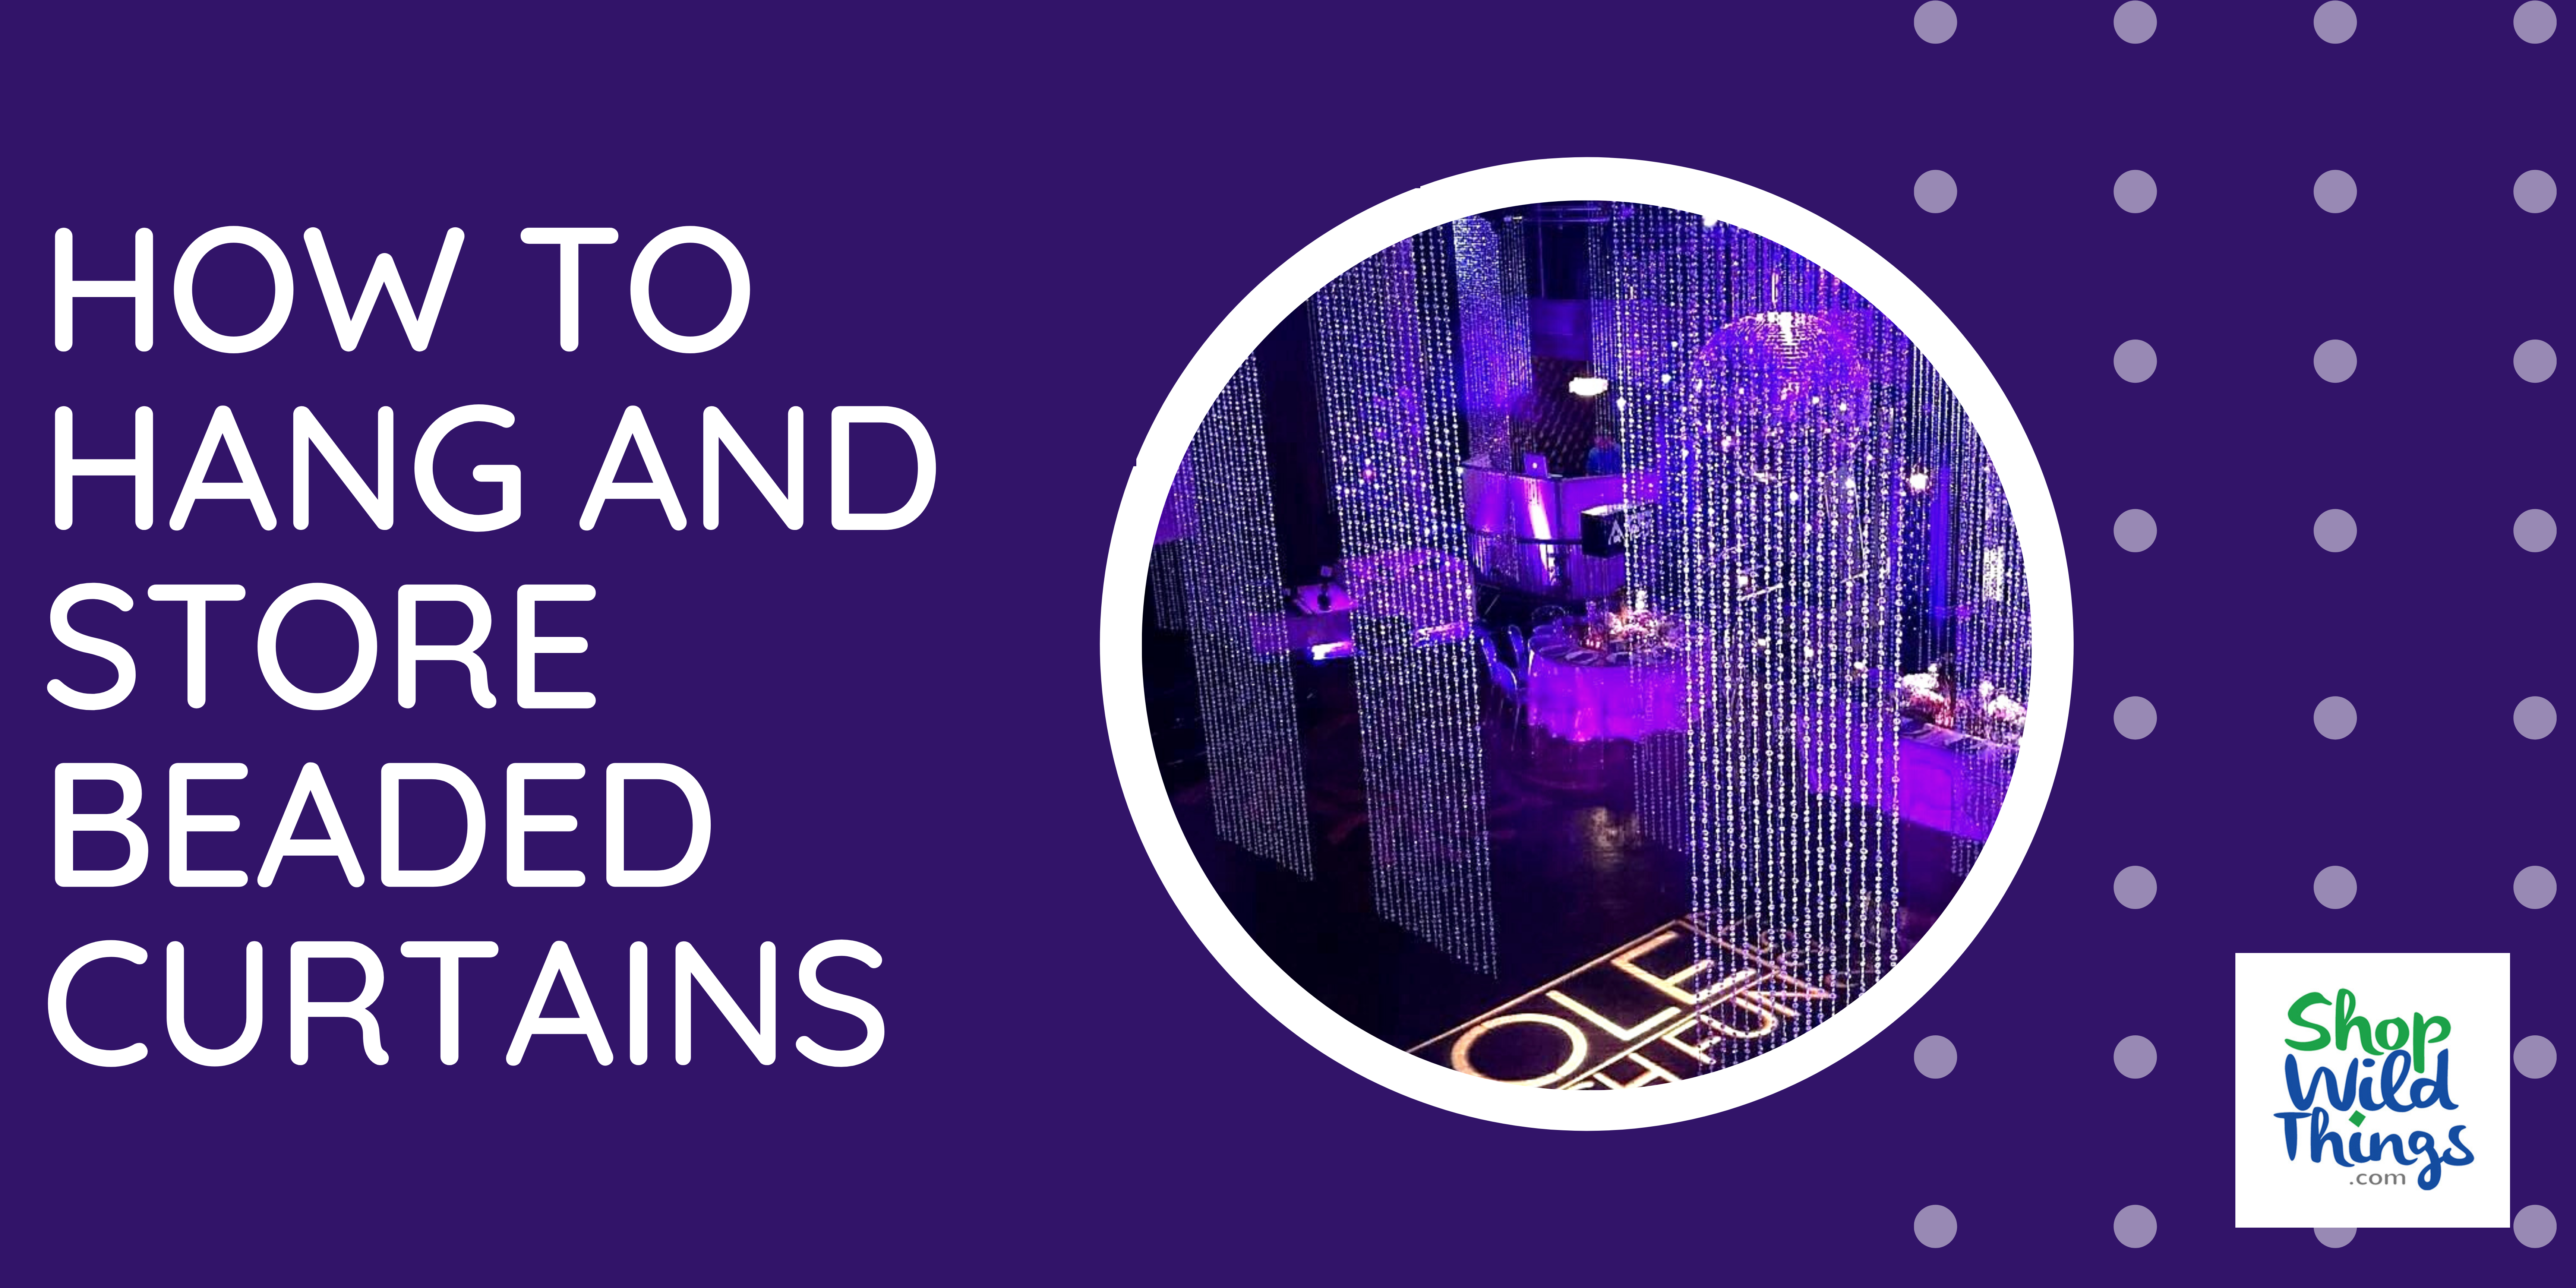
FAQ: Hanging & Storing Long Beaded Curtains

Why Hanging and Storing Your Beaded Curtains Properly is Important:
If you're like most of us, the day of an event can be a mad rush to "get it all done" as quickly as possible. Labor is expensive, and your time is expensive! BUT...your decorative goods are expensive, too! Here at ShopWildThings, we're happy to sell you new Beaded Curtains for every event, but that's probably not the best business decision for you. We want you to have a frustration-free experience using our Beaded Curtains and to know how to care for them. Make sure to print this guide for your staff and installers, too, in case you are not on-site when Beaded Curtains are being used. These instructions are the most important for installations using our Extra Long Curtains, and are ESSENTIAL for use of any curtains 12 feet and longer.
Shop all Beaded Curtains HERE.
Hanging Tall Beaded Curtains
-
Raise the box of curtain(s) to the truss (or any spot) where it will be installed.
-
DO NOT UNBUNDLE THE CURTAIN UNTIL THE HEADER IS FIRMLY ATTACHED TO THE TRUSS.
-
Attach the curtain panel to the truss.
-
Gently remove the bundles of strands and lower them to the ground.
-
Working from the bottom of the bundles, remove one tie at a time and gently shake the crystal strands loose and ensure that they are hanging straight.
-
Move upward to the next tie, remove the tie and ensure that the strands are hanging straight.
REMINDER – Please do not remove all the ties and then attempt to hang this tall curtain. We do not want you to create a giant ball of tangled crystals or beads.
Storing Tall Beaded Curtains
-
While the curtains are in still hanging in place, use twist ties to bundle the strands together like a long pony tail.
-
Starting at the header bar, take 10 or 12 strands in hand and wrap a twist tie (or other banding material like twill ties, ribbon, etc) around the strands to create the pony tail. Wrap the pony tail with a twist tie every 3 feet along its length from top to bottom. You will end up with 3 long pony tails.
-
Now lay the header bar into the box. Place the pony tails in the box by working them back and forth across the width of the box.
-
Make sure that the ties are visible and not bound too tightly. You want to be sure it is easy to remove the ties and reuse the panels without accidentally cutting the strands.
REMINDER - If using twill ties or ribbon, it is best to tie a bow for closure and not a hard knot.
